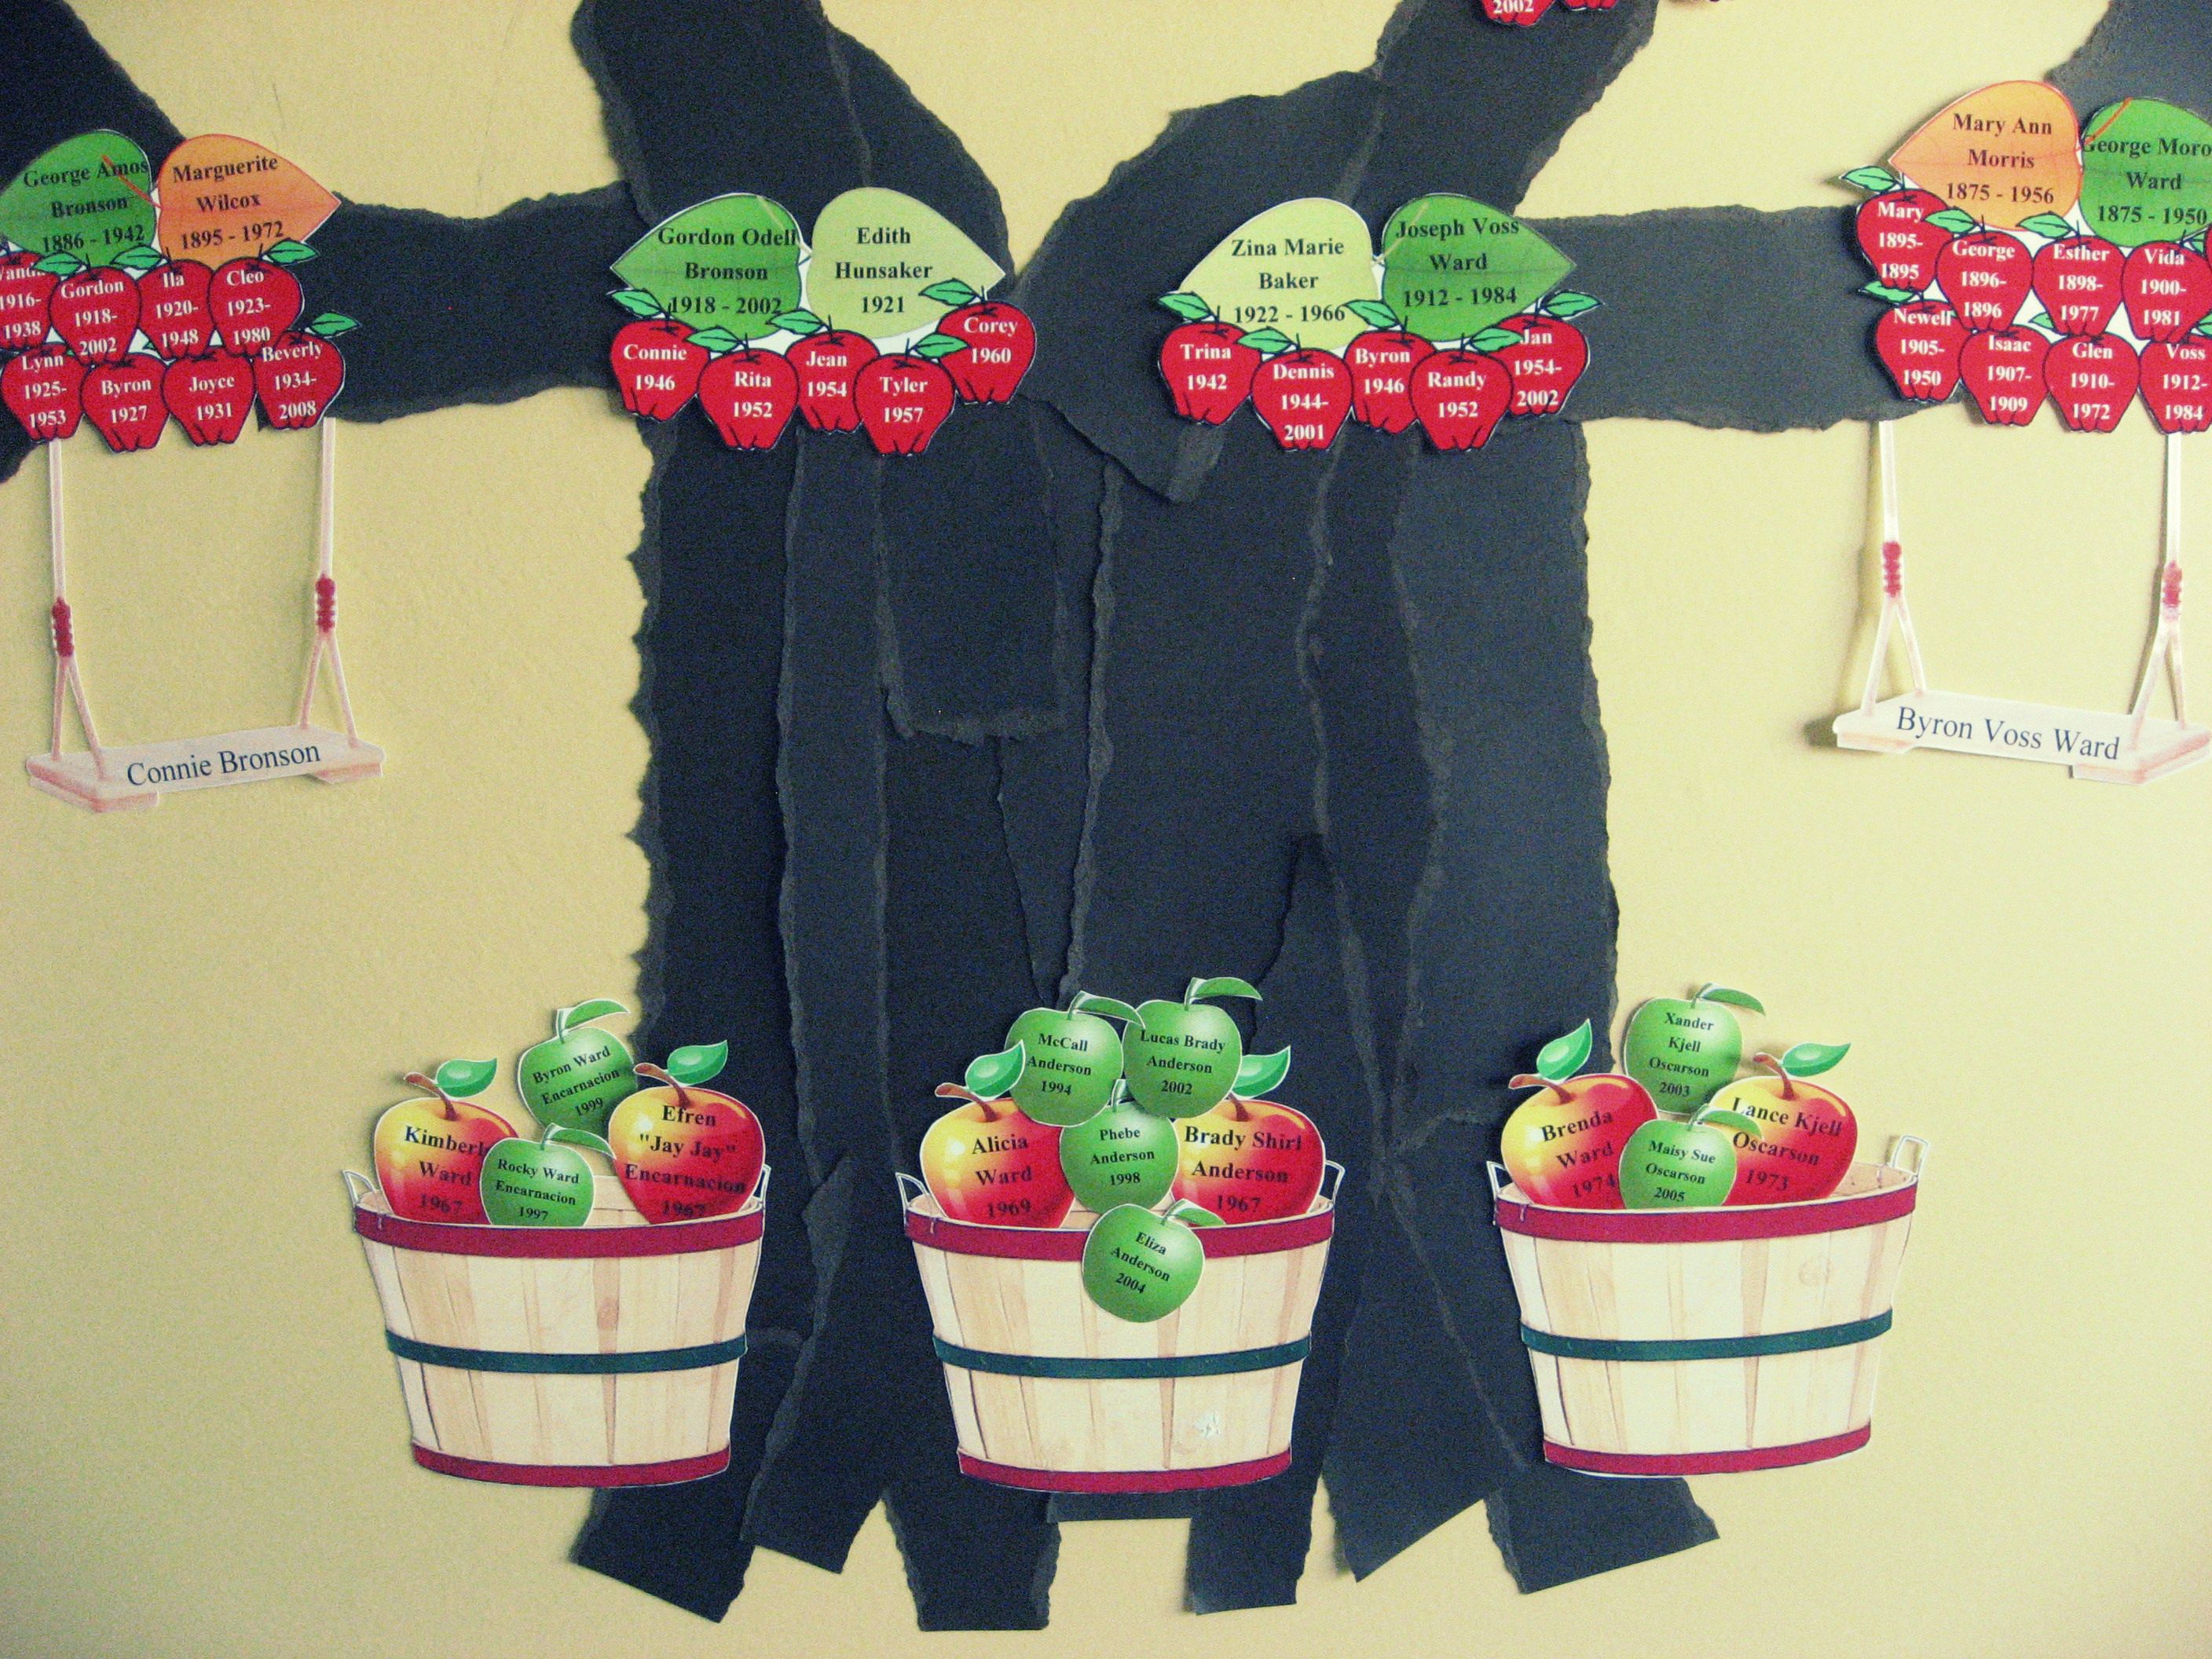
I got so many compliments on my grandkid photo wall at our previous home that I wanted to duplicate it at the new house. The project took longer than expected because I had to reprint and recrop and paint the walls first, but it was worth the time.
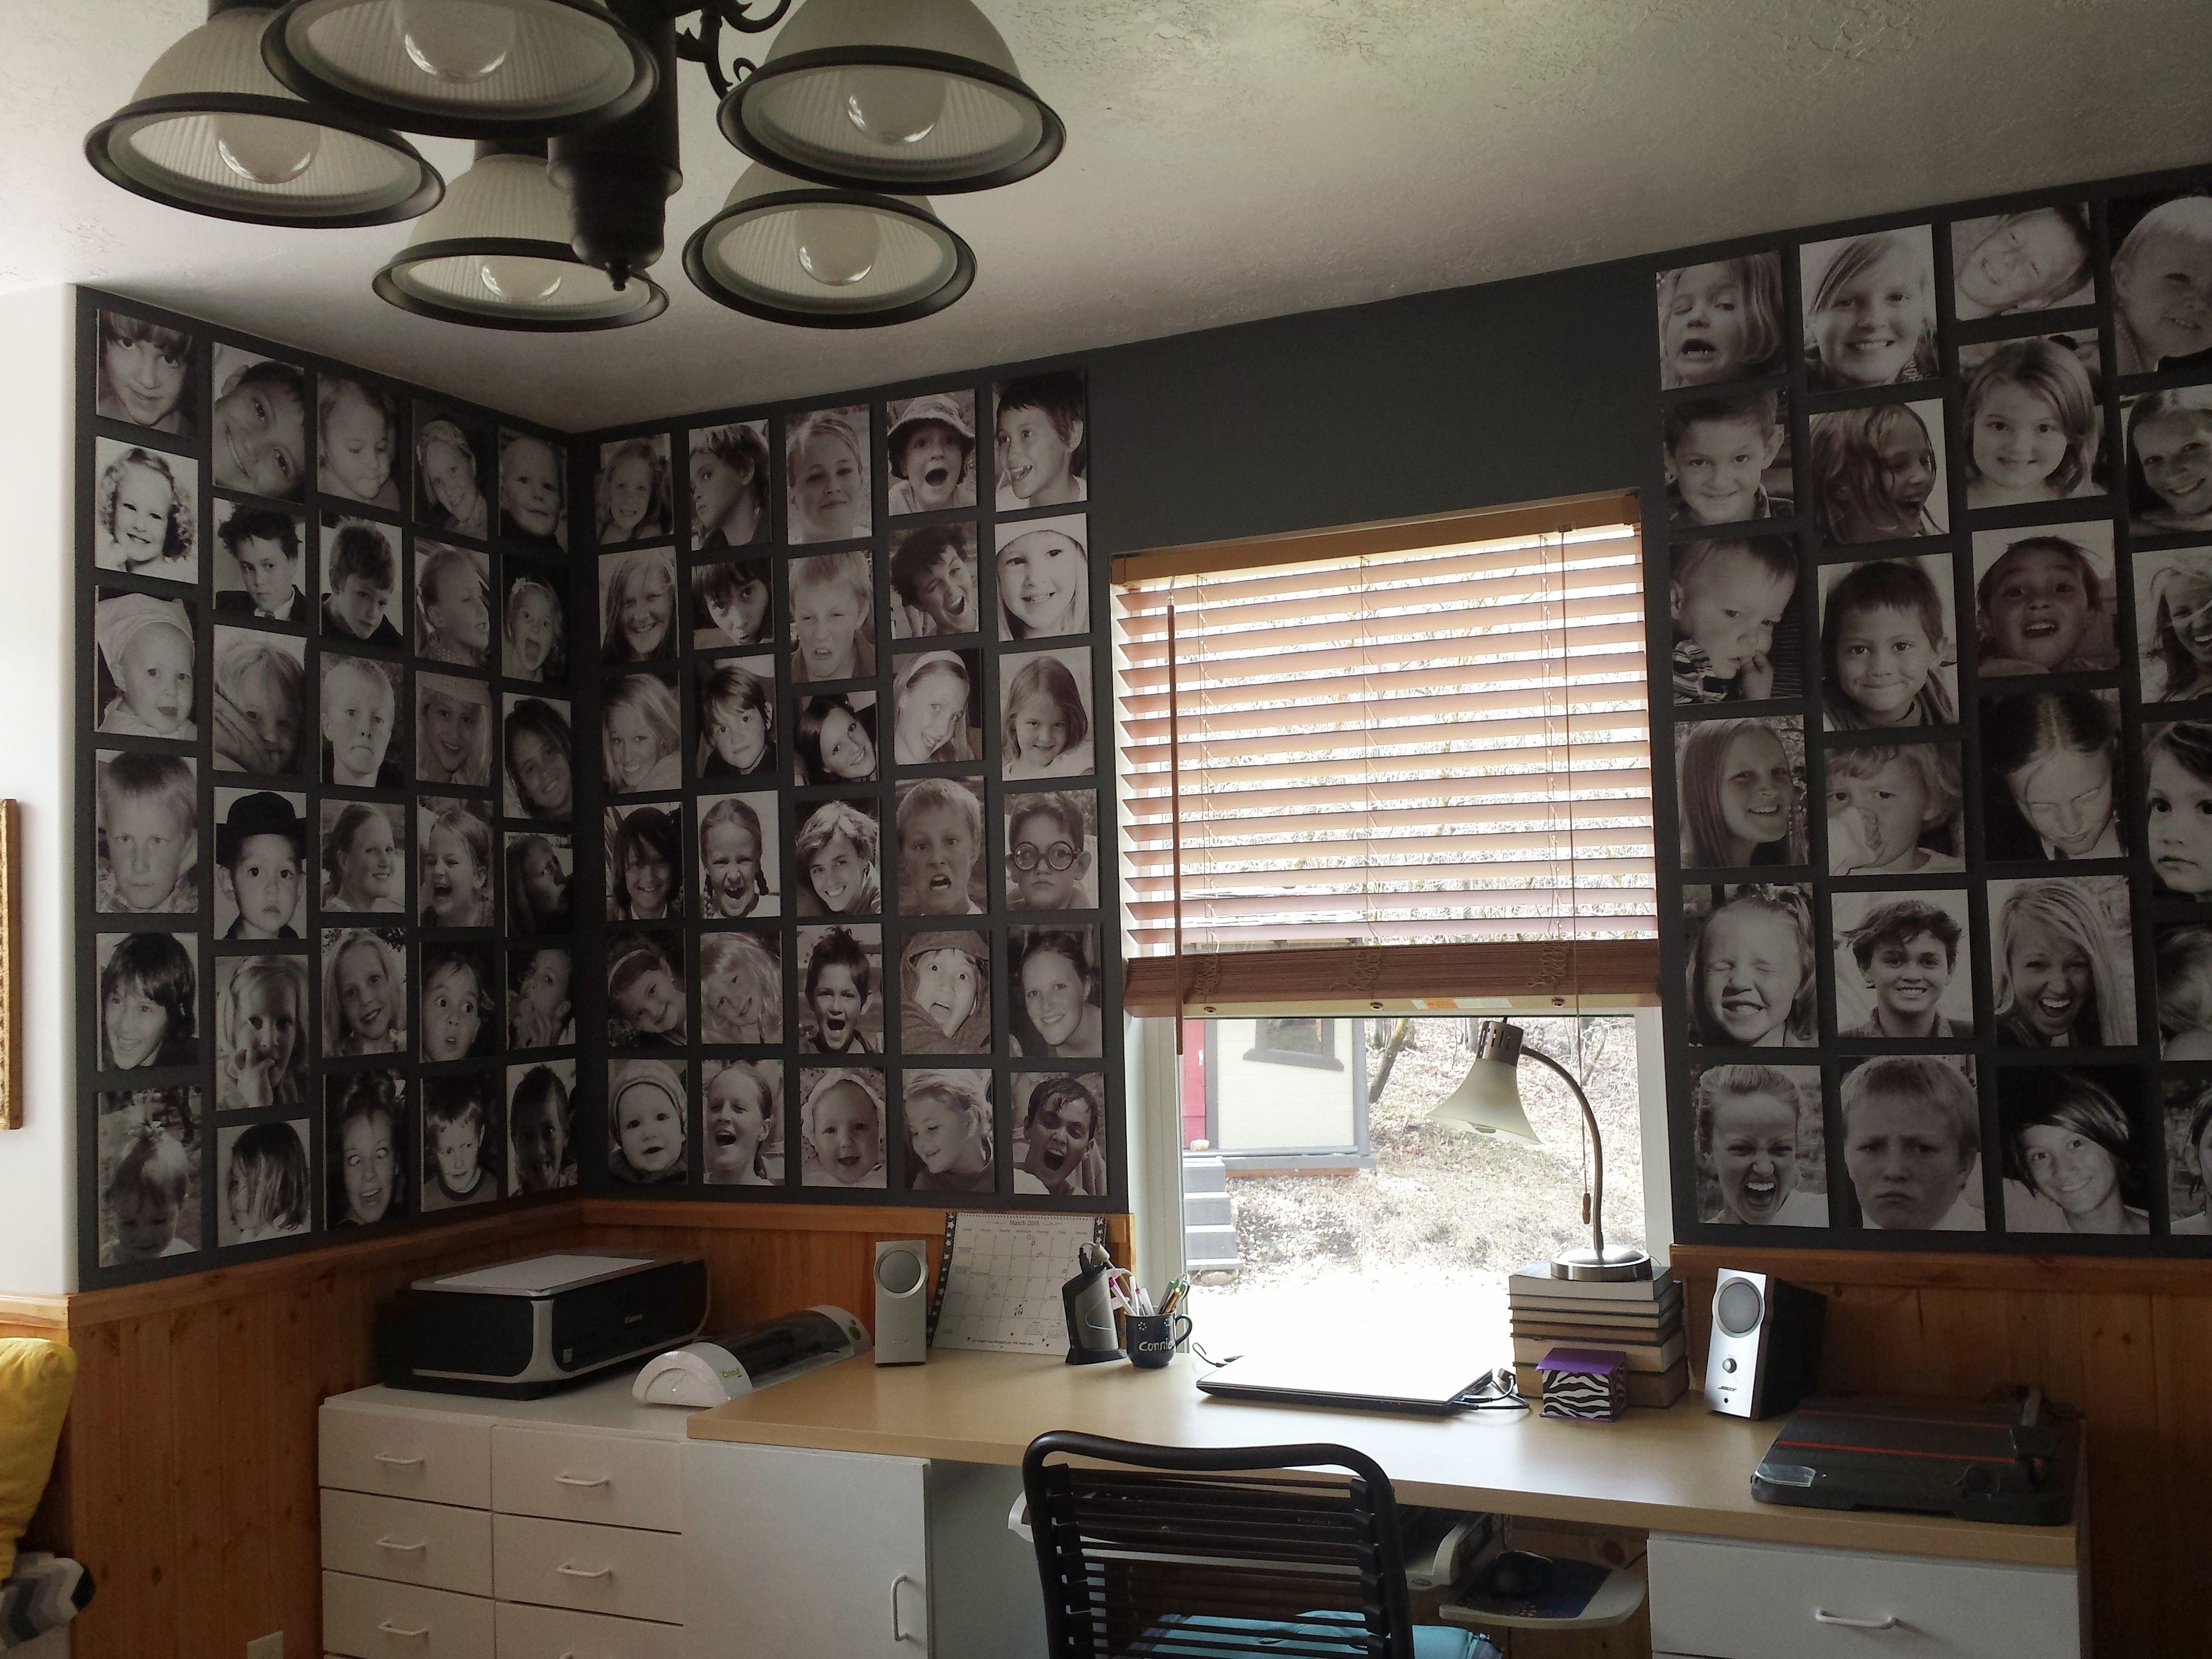
96 photos of 8 grandkids
This is my step-by-step process:
- Crop photos, change them to grayscale, then print in grayscale mode on glossy photo paper (I use a Canon Pixma color printer that produces a great quality picture). Sometimes the prints have a slight brown or purple tint to them, but they fade overnight to black and white. I print them as large as the paper and crop later to be the size I want.

My Canon Pixma MP510 color printer
- Use spray glue to mount the photos to white foam core.

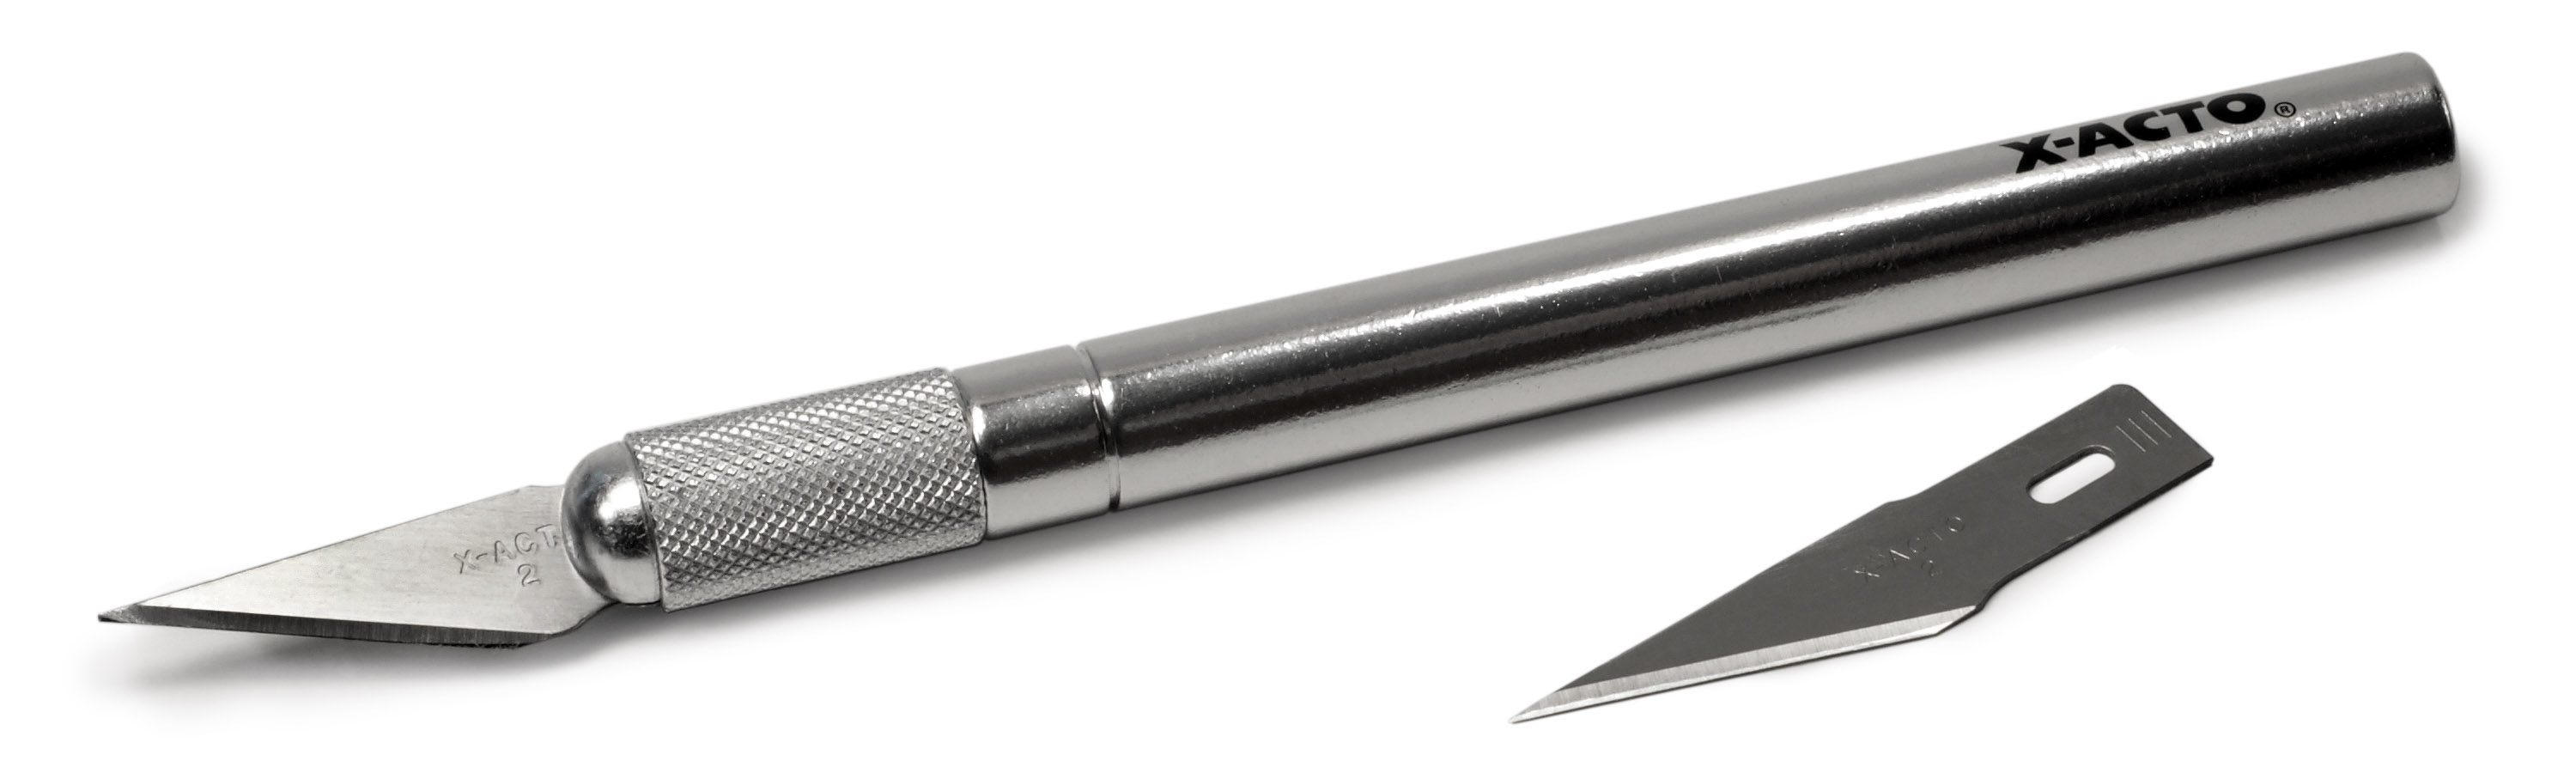
- Use a sharp Xacto knife to cut the foam core to the desired size, positioning the face where you want it to be on the finished product.
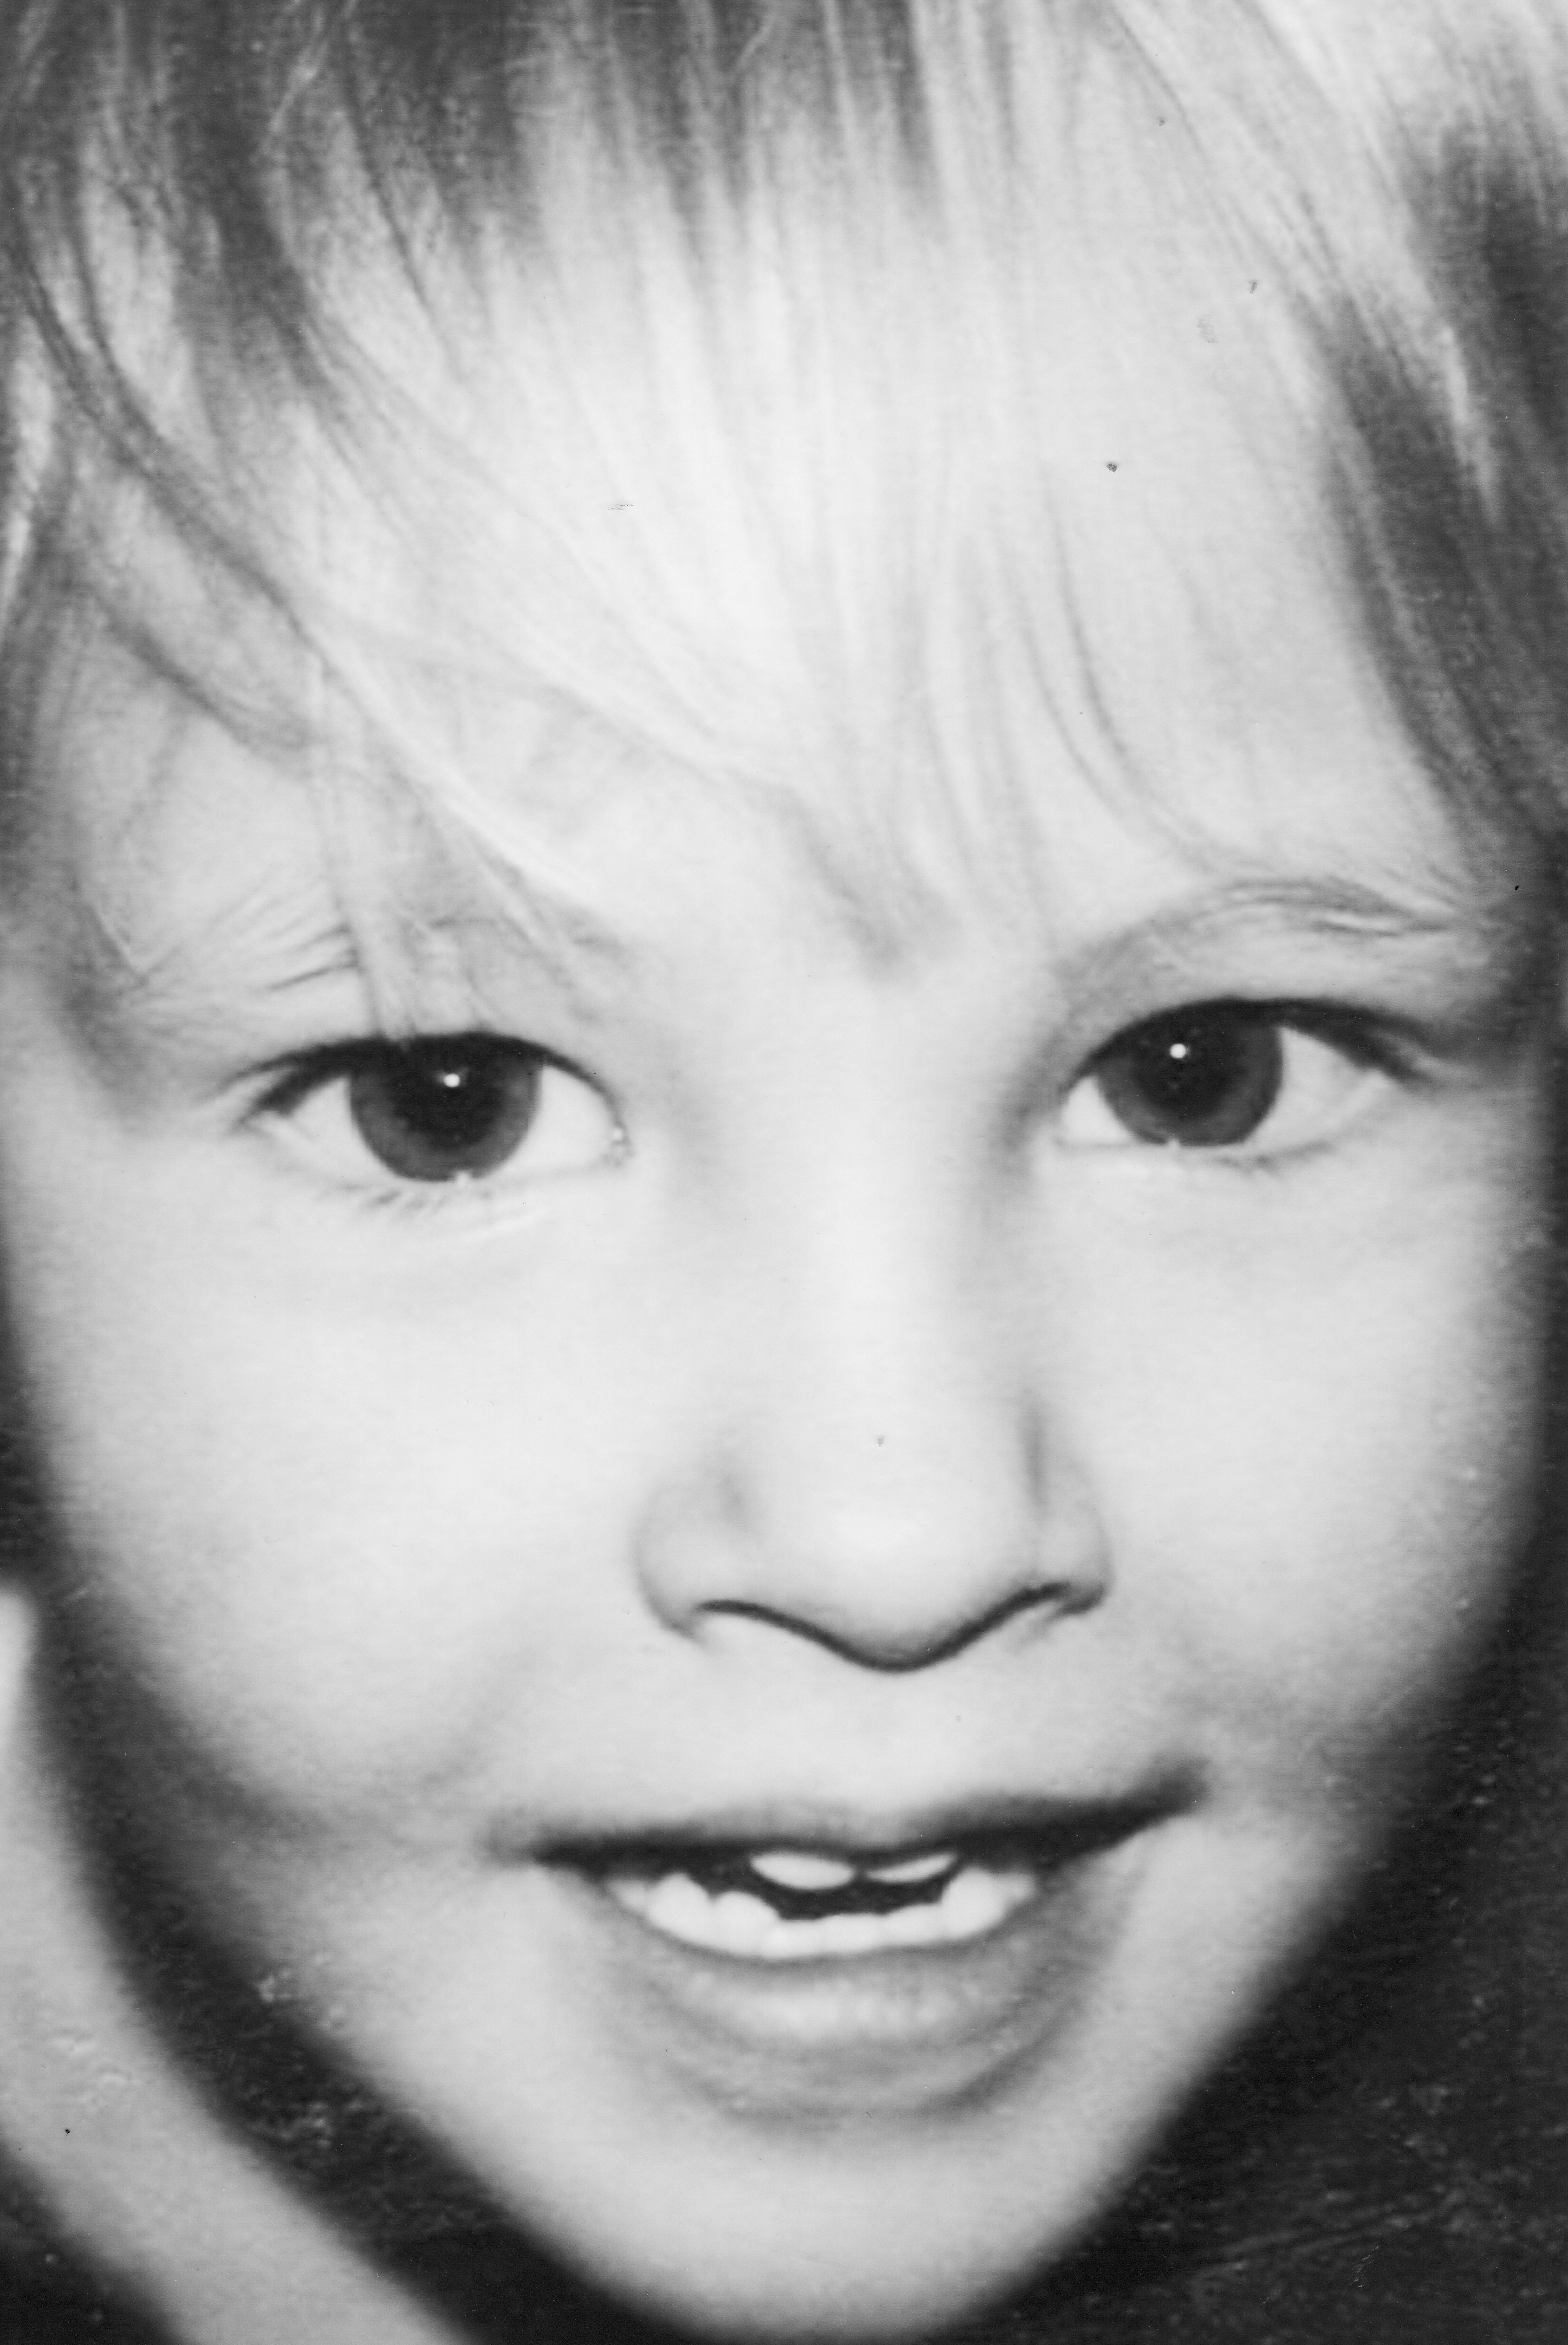
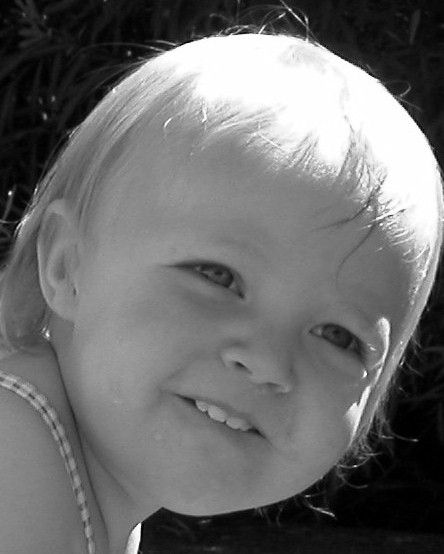
 I found that when the kids were small children, their cute little faces were fun to crop in interesting ways.
 Now that they are older, it’s all about the hair!
 So I did less close cropping this time around. I cut all of my foam core to a 7″ width, but varied the length to fit the photo. You have to make sure your cuts are straight down and the blade has to be very sharp.
 - I painted the walls a dark gray to make the photos pop. I had some leftover gray and mixed it with some leftover black, so the paint didn’t cost me anything. In retrospect, I wish I had painted all the white walls in the office this dark gray. That’s another project for another day!
- I am a big fan of reusable poster tack and always have a supply in my desk drawer. I am not sure which brand I use because it’s just in a big ball in a plastic bag! I do know, however, that I only like the blue kind!
 A trick for removing it from the wall is to use a small ball of it to rub on the unwanted part and it comes right off. Also, when removing photos from the wall, slide the photo so the tacky substance doesn’t pull off the paint (you can tell I’ve had a lot of experience!). I put a dot of the tacky stuff about an inch from each corner in case I need to slide the photo a bit to reposition.
 - When hanging the photos, if the space doesn’t work out just right, you can trim some of the length off and it all fits nicely. Just make sure you leave the photos the same width so it doesn’t look like a big mess.
 I love having my eight grandkids looking at me again while I work! Each one got 12 pictures on the wall. They are easy to change out because you just print a new photo and spray it on to the old one.


Now I just have to figure out what to put in the space above the window – I’m thinking 8 pictures of eyes only!


