Lost and Found: Organizing Digital Documents

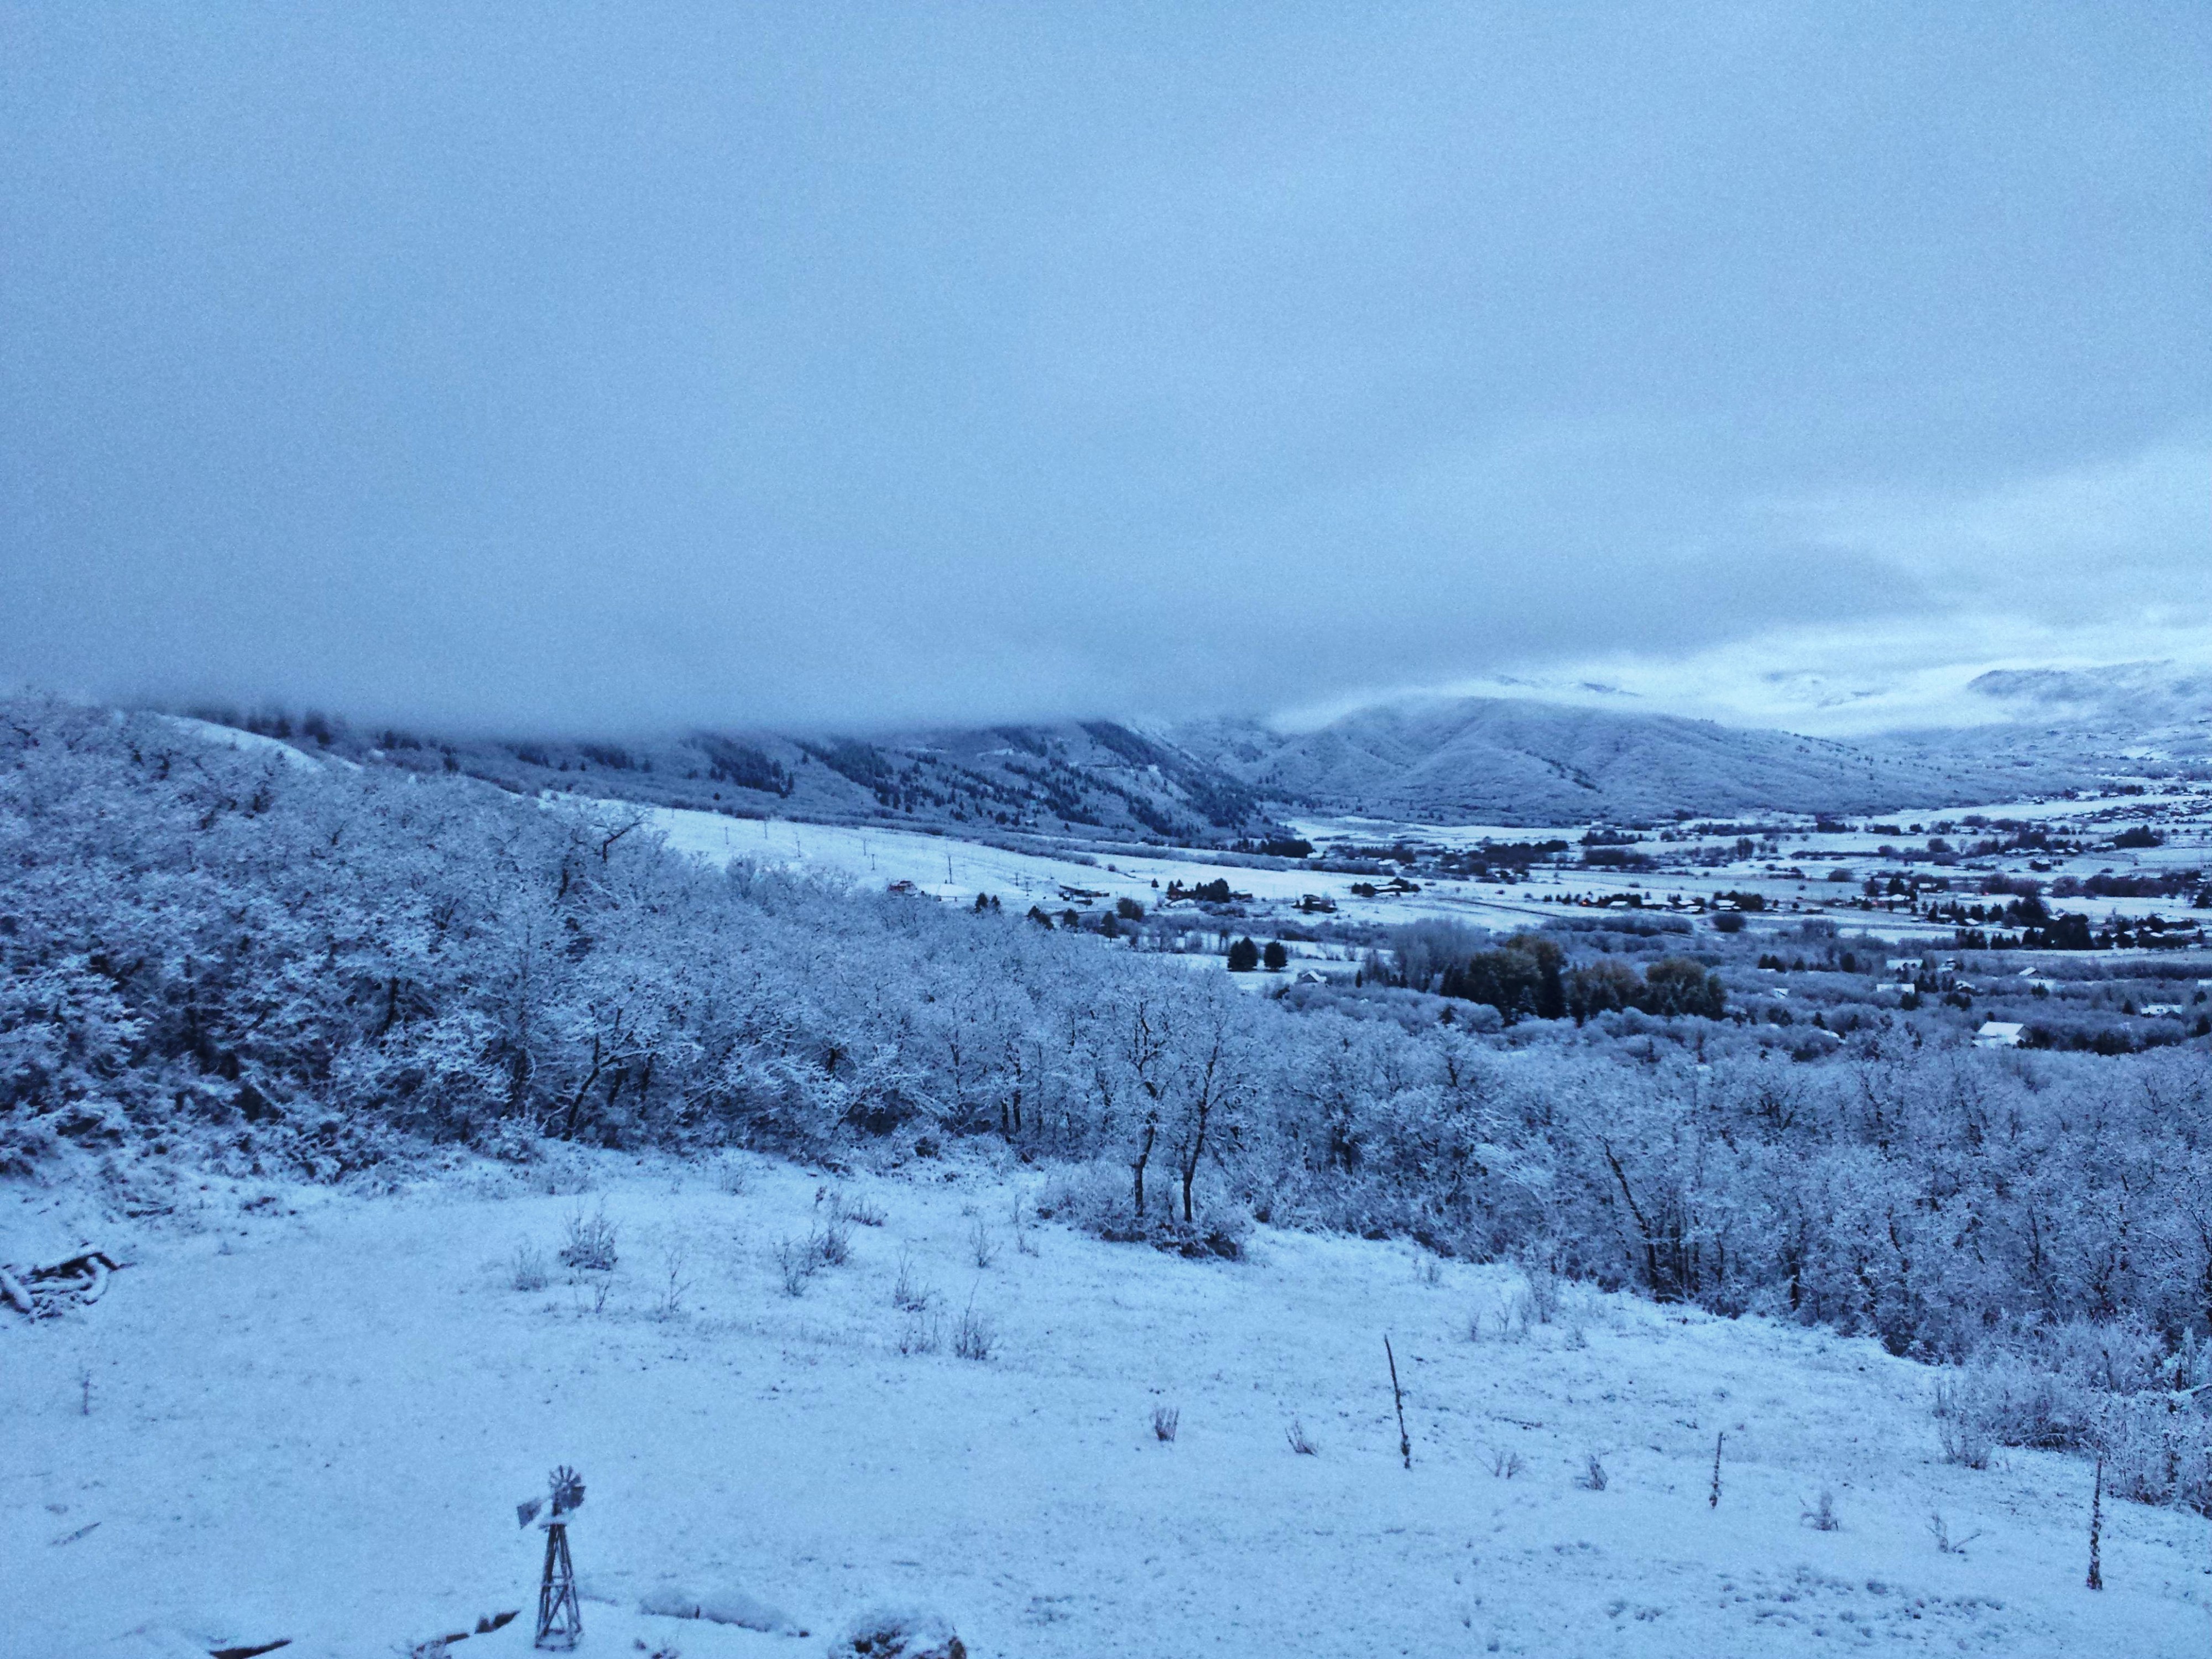
I sort of took the summer off from genealogy to do more house organizing and family adventures, but here it is November and I think summer is over judging by the scene outside!

organizingdocuments

I saw my wonderful friend of 60+ years this week (Marianne) and she was preparing to scan her genealogy documents so her sister would have access to them.  She asked my advice on how to best handle the situation.  That reminded me that I haven’t yet shared one of my best genealogy organization tips, so here it is.

When saving documents you find at the library or online or at Grandma’s house, or really anywhere, this is the method I learned while serving as a missionary at the Family History Library in Salt Lake City.  I was skeptical at first, but I love this method and use it consistently – and CONSISTENCY is the key.

  1. Save the document with the source material included, if possible, or attach the source material to the document by adding a text box at the bottom or at the very least a separate document listing the source.  I use a free software download called Irfanview, which makes it easy to add text to the document (but that’s yet another blog post!).
  2. For male ancestors, save the document by their last, first, and middle names, then their birth date in parenthesis, then the type of document and year.  Make sure the year stays at the end (easier to see at a glance and keeps census records in order).

Smith John Wesley (1841) census 1870

  1. For female ancestors, save the document by their maiden name, first, middle, then married last name in parenthesis, birth date in parenthesis, then the type of document and year of document.

Jones Margaret Ann (Smith) (1845) death cert 1910

  1. If the female has been married more than once, include all married names beginning with the first marriage.

Adams Belinda (Davis) (Green) (1890) news 1928

  1. Using punctuation just complicates matters and messes with the sorting as far as I’m concerned.
  2. Consistency is the key so that when you end up with hundreds of documents, each person’s documents will be listed alphabetically together and in year order.
  3. Abbreviate words like certificate (cert) and newspaper article (news) and picture (pic) if you like, but just be consistent for every document.
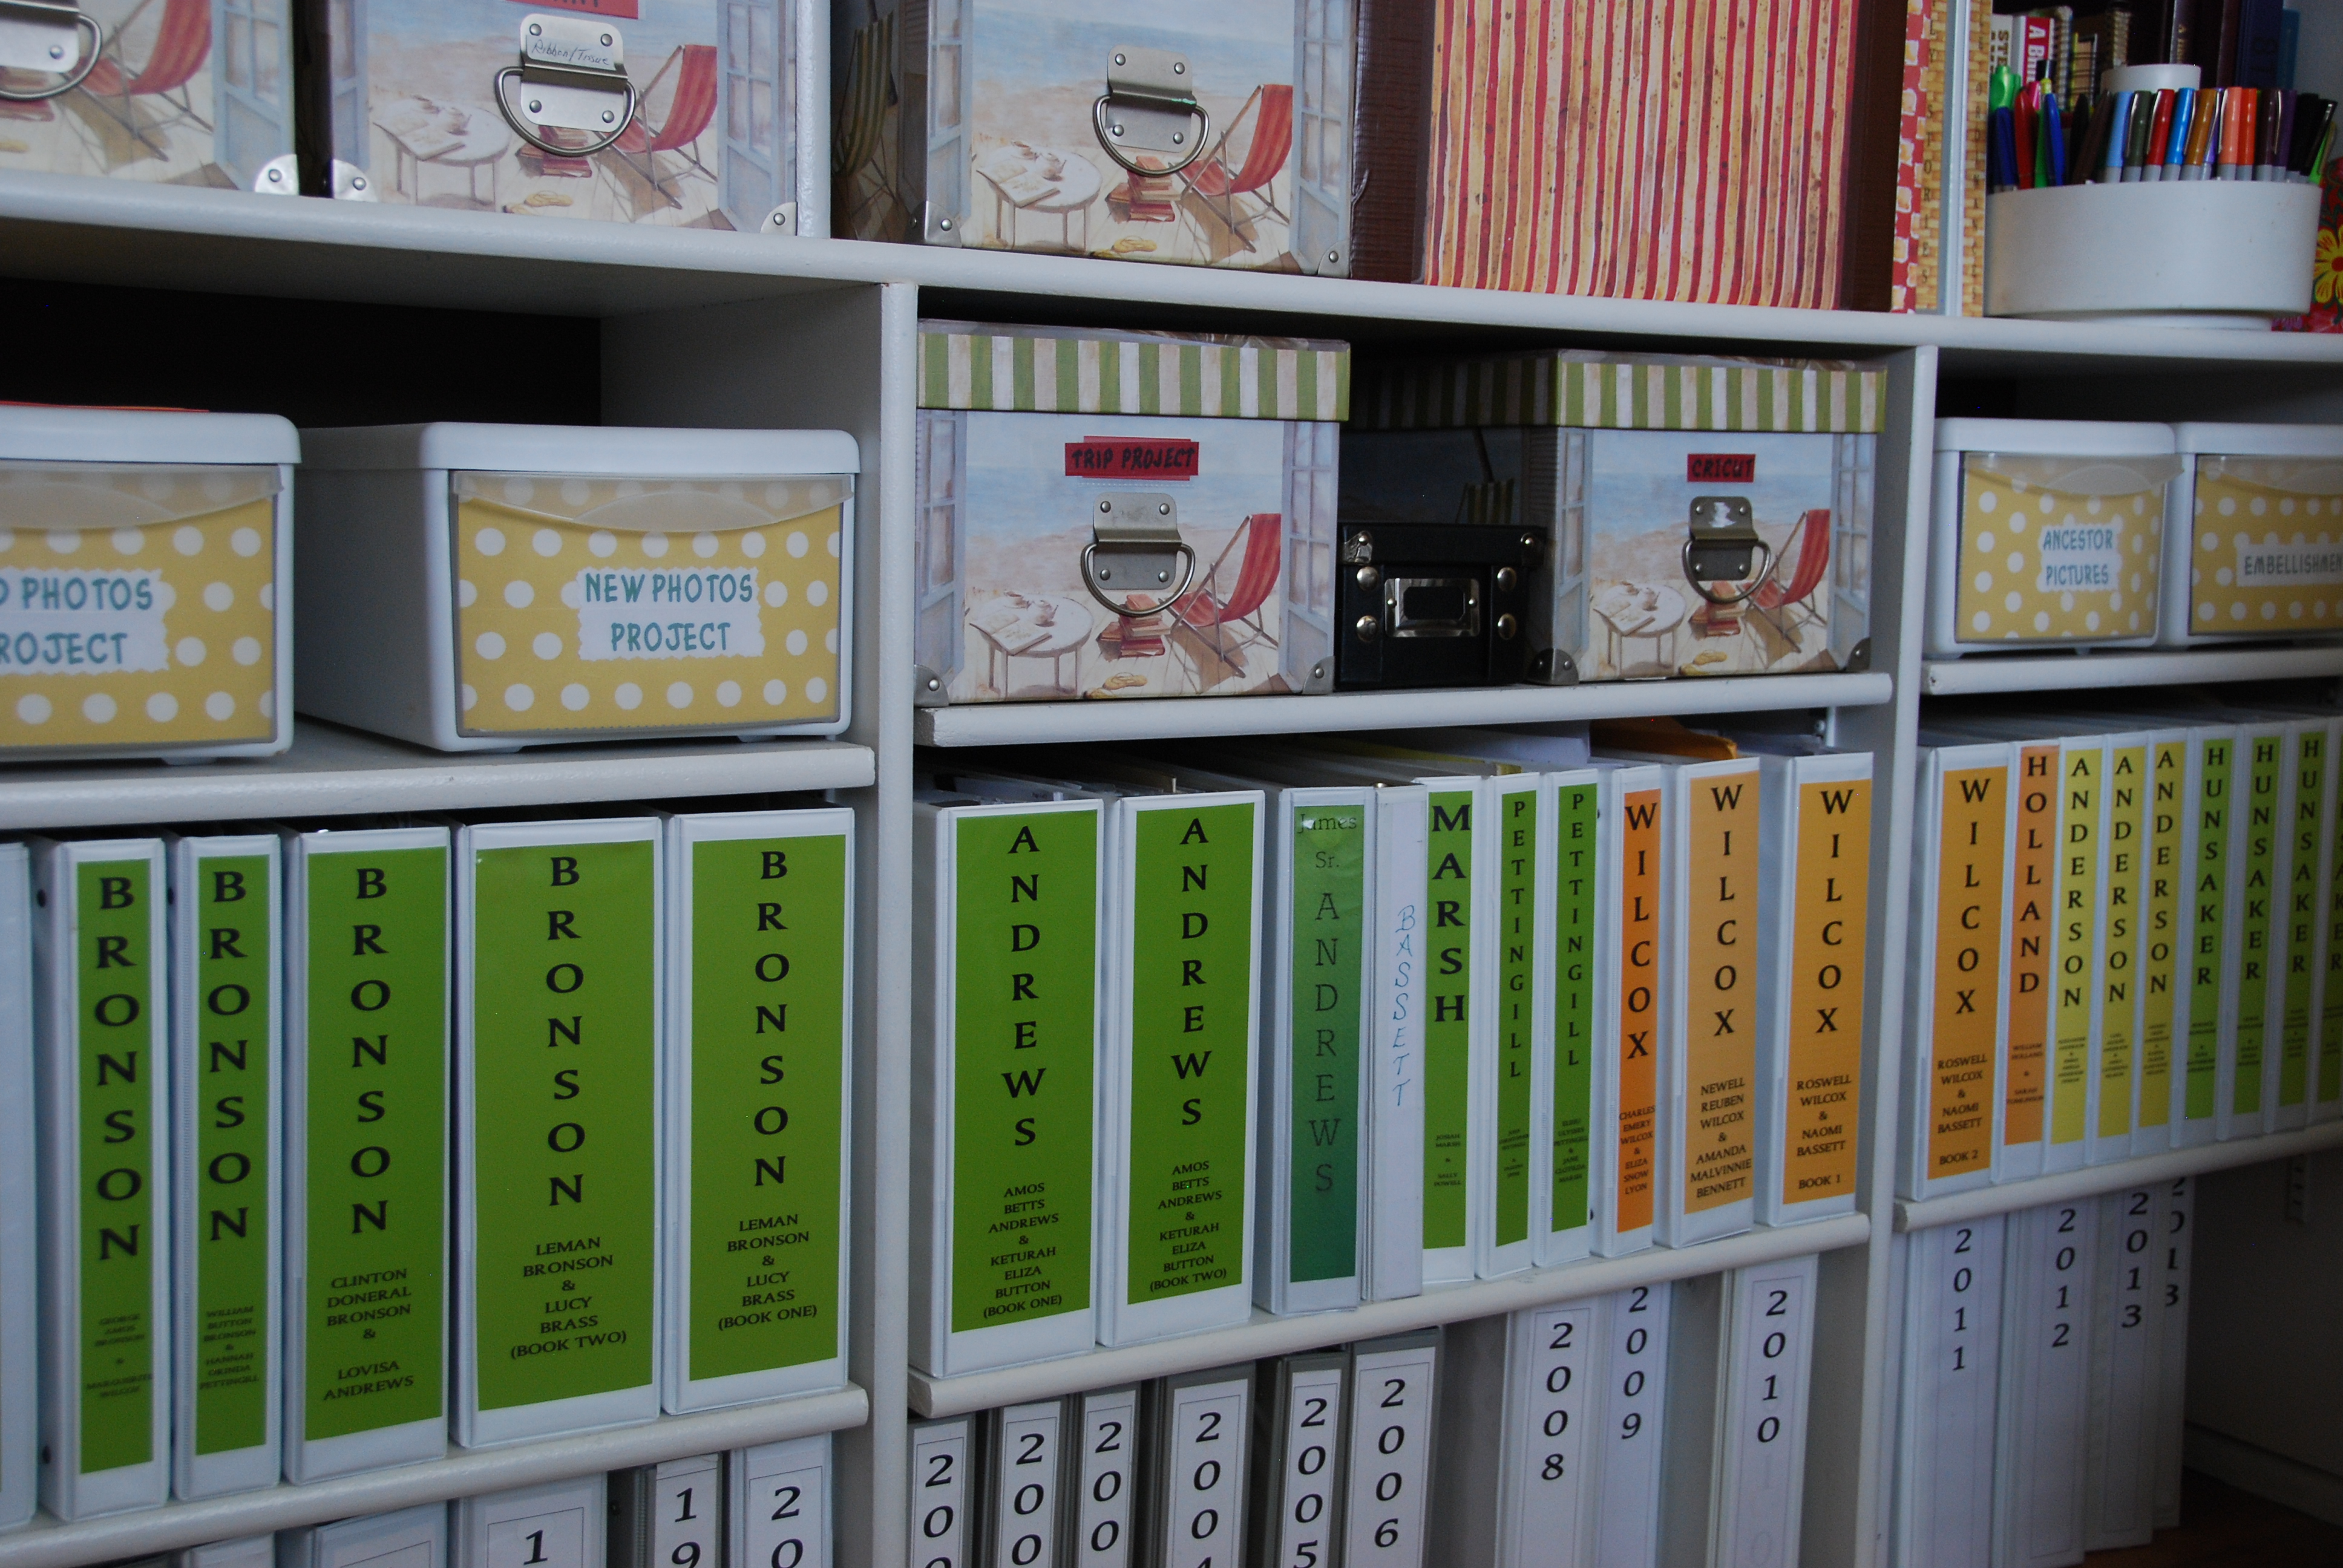
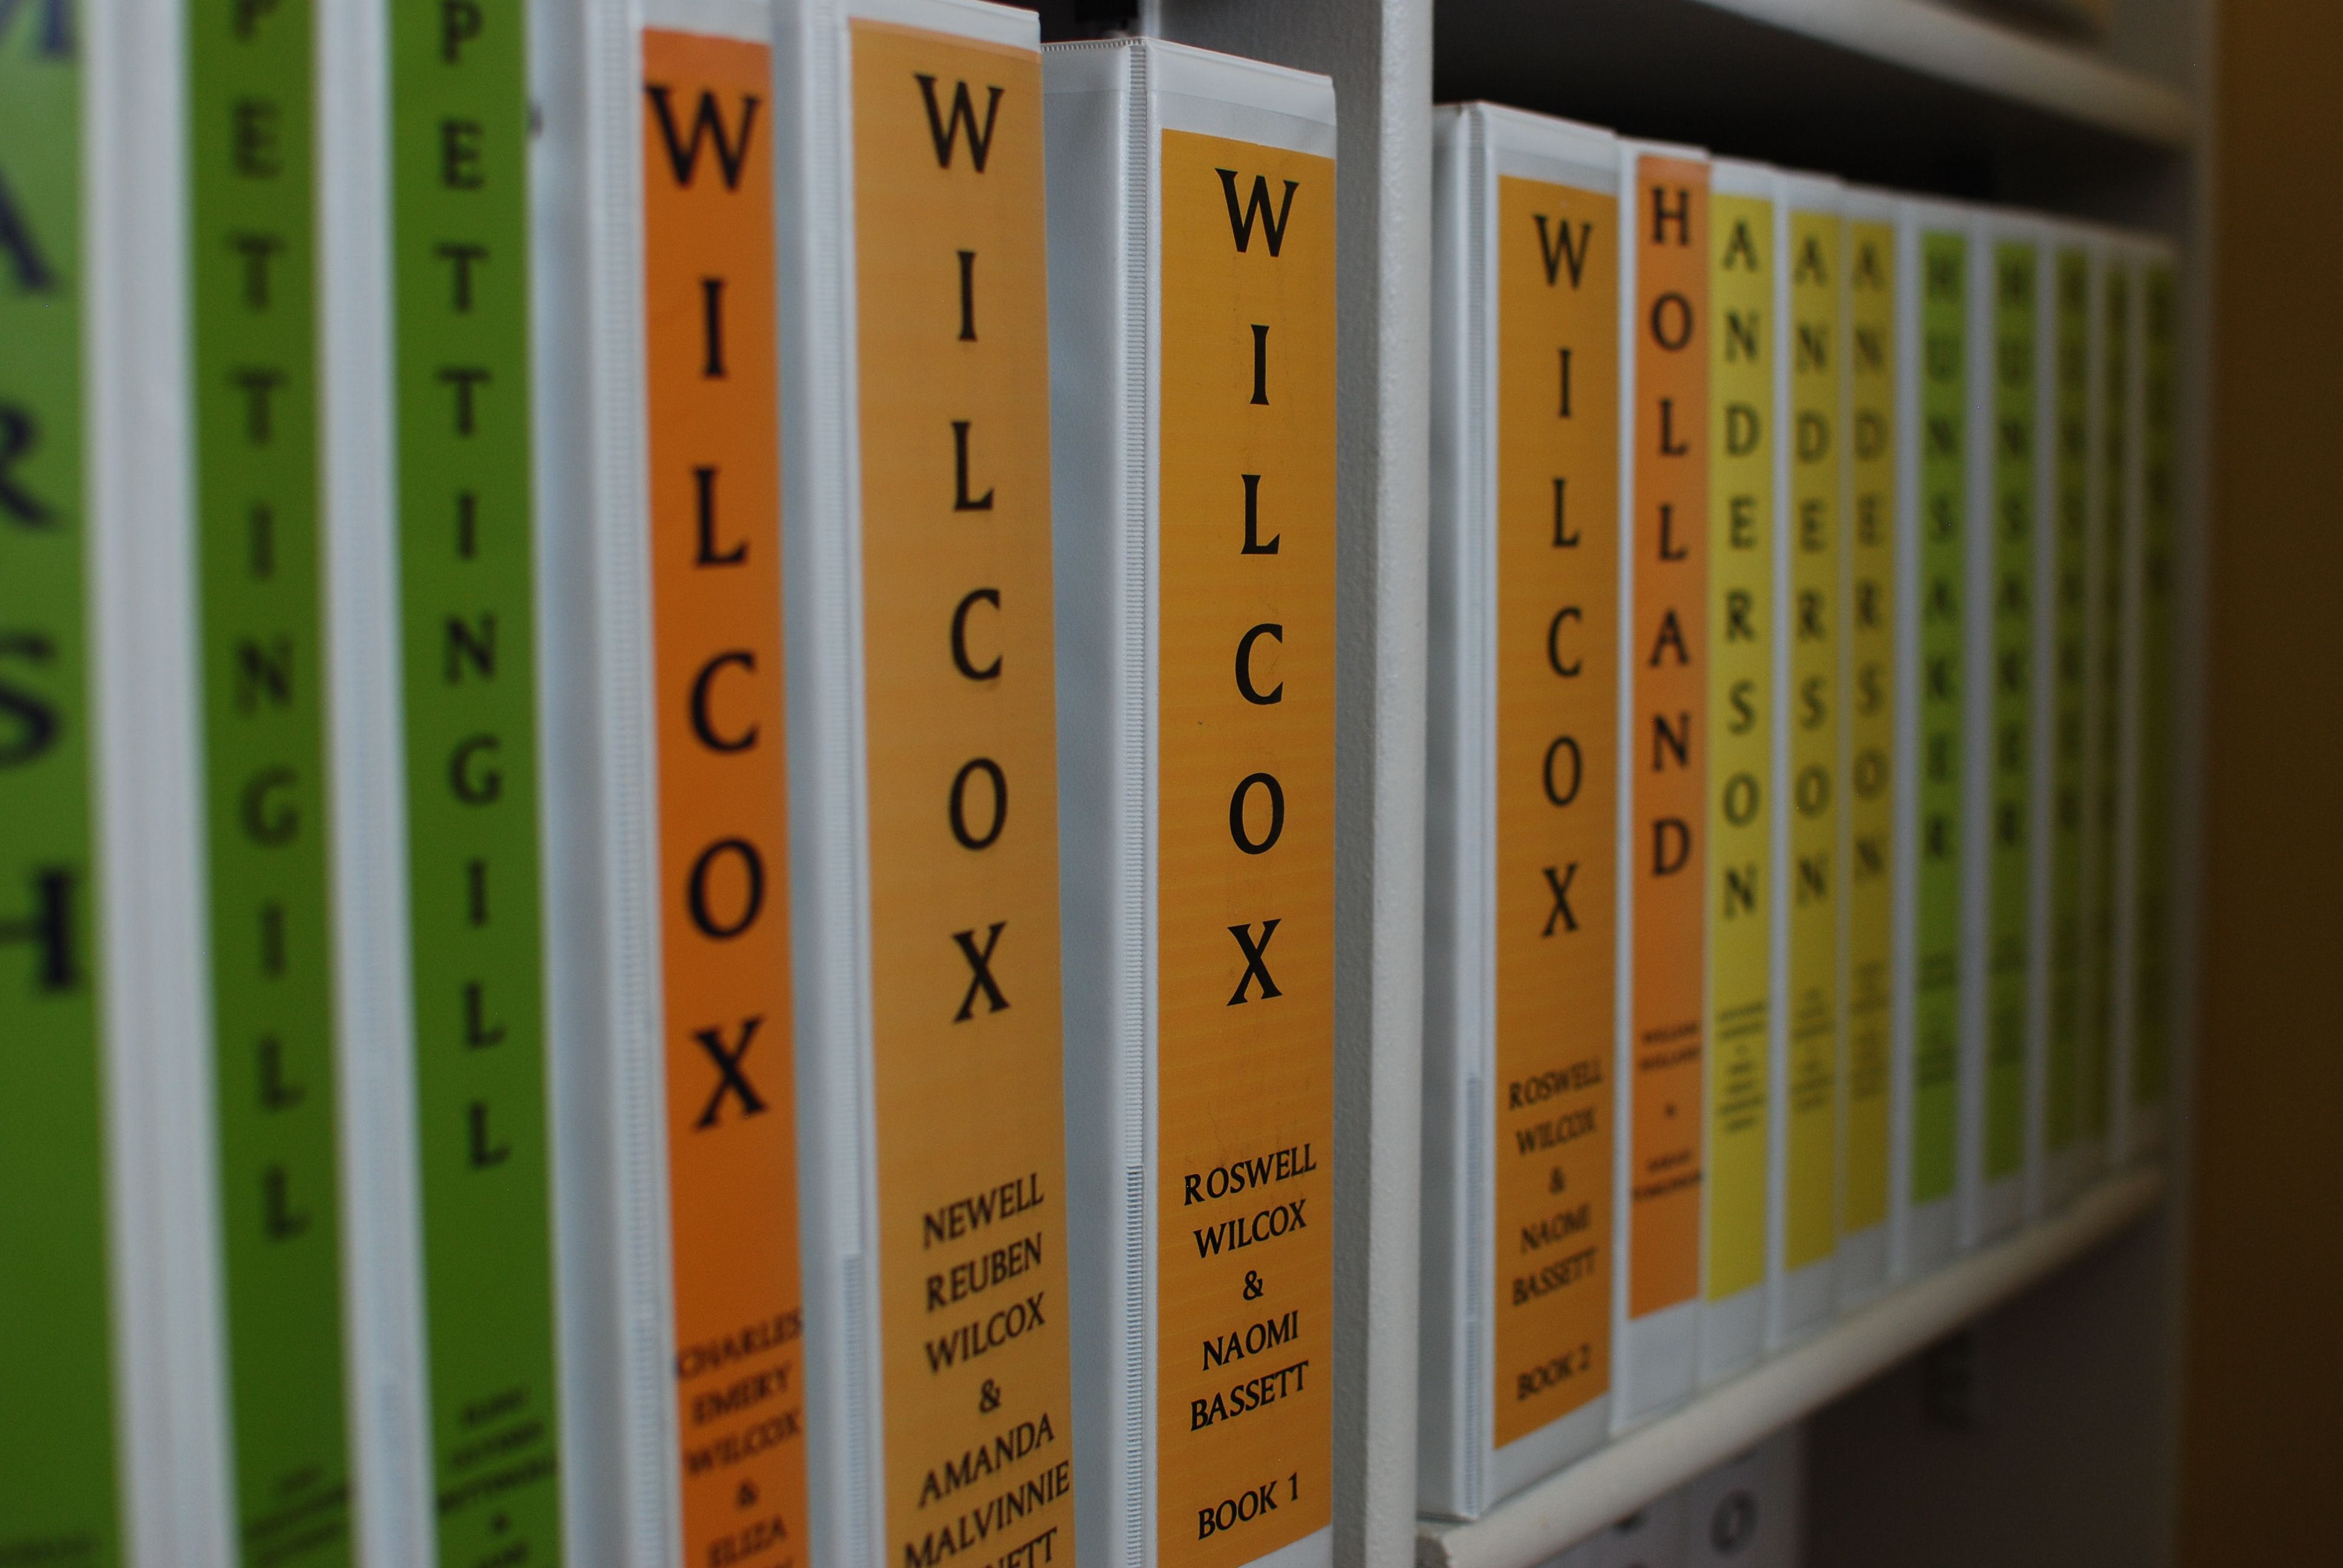
  4. You can keep all documents in one big folder or you can separate them into your four family lines.  I don’t separate them any further than that, however, because then I would have to remember which family they are in!  I only divide my documents into the four family lines because I am never working on more than one at a time.  So my documents are all in a folder called ALL FAMILY FILES and are separated into four folders:  Anderson, Hunsaker, Wilcox, and Bronson.
  5. If you are using a flash drive away from home, save everything in the same way and then just transfer all documents to your hard drive.
  6. And, as a last tip, if you copy those genealogy documents to Evernote,  you can access them on all your devices and on public computers with your log in and password.  And it is always in the cloud!

Here is a snapshot of how this looks when I open my genealogy documents folder:

screen shot 1


Notice the long one – I often name pictures with all the people in case I lose the original.

I hope this works for you.  If you have particular questions, please ask!

Advertisement

Lookin’ Good: a place for everything, everything in its place

I just have to give one more organizational tip before I go back to the real important genealogy stuff!  I have so many little collectibles and books, etc., that it is hard to display it all without making the room look messy.  After moving to our new home, my husband and I built a new “old” shelving system for my office.  It takes up one whole side of the room and is about 10 feet long and from floor to ceiling.  We bought new angle iron and metal fence posts and “aged” them to look old.  The process took a few days of trial and error, but I love how it turned out.

DIY industrial shelving

DIY industrial shelving


Shelving all finished - ready to load

Shelving all finished – ready to load

connie ward girl with a past blog genealogy family history shelving unit metal aged industrial keepsakes archive mementos

Oh Give Me a Home: where loose papers can’t roam

It’s time to organize some more stuff!  This idea is extremely inexpensive and can be used in so many ways.  It’s a cardboard magazine file from Ikea!

FLYT magazine file from Ikea

FLYT magazine file from Ikea

I didn’t know these little boxes could make my life so easy.  I use them to store all of my piano music (organized by genre of course).

Piano music and scrapbook paper

Piano music and scrapbook paper

I use them to store magazines that I can’t bear to throw away (chronologically of course).  I use them to tidy up all those family histories my mother wrote (alphabetically by subject of course).

Family Histories

Family Histories

I use them to hold study guides and reference materials that I might or might never need again (labeled “General Reference” of course).  I use them to hold all my junior high and high school yearbooks (times 2 because my husband has a set also).

Yearbooks from Days Gone By

Yearbooks from Days Gone By

I use them to hold my 8.5 x 11 scrapbooking paper.

Scrapbook Papers

Scrapbook Papers

I use them to hold my printer paper, photo paper, and page protectors.  And I made my own larger ones to hold my 12 x 12 scrapbooking paper.  The boxes are plain white, but you can see that I dressed up some of them with scrapbook paper and fancy lettering, just for fun.

You can buy them at Ikea for $1.49 for a 5-pack or order them online, but beware that shipping charges can cost more than the product.  I ordered them from Amazon with free shipping, but had to pay a little more for the product.  It was still cheaper than driving to the nearest Ikea, which is now 70 miles away from my home.  Shop around, even on Amazon, and find the best deal.

And if you caught a glimpse of my newly painted, beautiful gray piano or my aged industrial shelves, stay tuned for a future post on those items!

Someone To Watch Over Me: hanging up the grandkids

I got so many compliments on my grandkid photo wall at our previous home that I wanted to duplicate it at the new house.  The project took longer than expected because I had to reprint and recrop and paint the walls first, but it was worth the time.

96 photos of 8 grandkids

96 photos of 8 grandkids

This is my step-by-step process:

  1. Crop photos, change them to grayscale, then print in grayscale mode on glossy photo paper (I use a Canon Pixma color printer that produces a great quality picture).  Sometimes the prints have a slight brown or purple tint to them, but they fade overnight to black and white.  I print them as large as the paper and crop later to be the size I want.

    My Canon Pixma MP510 color printer

    My Canon Pixma MP510 color printer

  2. Use spray glue to mount the photos to white foam core. spray glue
  3. Use a sharp Xacto knife to cut the foam core to the desired size, positioning the face where you want it to be on the finished product.  SONY DSCI found that when the kids were small children, their cute little faces were fun to crop in interesting ways. 
    connie ward girl with a past blog genealogy family history photo display grandchildren cropNow that they are older, it’s all about the hair! 
    connie ward girl with a past blog genealogy family history photo grandchildren cropSo I did less close cropping this time around.  I cut all of my foam core to a 7″ width, but varied the length to fit the photo.  You have to make sure your cuts are straight down and the blade has to be very sharp.
  4. I painted the walls a dark gray to make the photos pop.  I had some leftover gray and mixed it with some leftover black, so the paint didn’t cost me anything.  In retrospect, I wish I had painted all the white walls in the office this dark gray.  That’s another project for another day!
  5. I am a big fan of reusable poster tack and always have a supply in my desk drawer.  I am not sure which brand I use because it’s just in a big ball in a plastic bag!  I do know, however, that I only like the blue kind!  poster tack elmersA trick for removing it from the wall is to use a small ball of it to rub on the unwanted part and it comes right off.  Also, when removing photos from the wall, slide the photo so the tacky substance doesn’t pull off the paint (you can tell I’ve had a lot of experience!).  I put a dot of the tacky stuff about an inch from each corner in case I need to slide the photo a bit to reposition.
  6. When hanging the photos, if the space doesn’t work out just right, you can trim some of the length off and it all fits nicely.  Just make sure you leave the photos the same width so it doesn’t look like a big mess.connie ward girl with a past blog genealogy family history photo wall grandkids display grayscale black and whiteI love having my eight grandkids looking at me again while I work!  Each one got 12 pictures on the wall.  They are easy to change out because you just print a new photo and spray it on to the old one.

Now I just have to figure out what to put in the space above the window – I’m thinking 8 pictures of eyes only!

Binders Glorified: genealogy research and organization magic

I love 3-ring binders!  They are magic!  I have banker’s boxes full of empty binders in my garage.  I have a hall closet full of binders waiting to be filled.  I have shelves of binders currently holding very important information.  Whoever invented the 3-ring binder deserves a gold star! Why do I need so many binders?  OK, so I’m an organization junkie!

Organization does not need to be a boring subject!

Organization does not need to be a boring subject!

Here are just some of the items you will find in binders at my house:

  • recipes from myself and 3 daughters
  • almost 40 years of journals
  • newspaper clippings of the 2002 Winter Olympics in Salt Lake City
  • trips we have taken complete with photos, trip journals, maps, etc.
  • the crazy family stories my husband and I tell our grandkids
  • photos that don’t have a home yet
  • greeting cards (I can’t throw them away)
  • important papers and documents
  • computer CD’s (in those cool plastic thingies that hold 4 CD’s on a page)
  • music CD’s (in those same plastic thingies)
  • DVD’s (yep, more thingies)
  • book lists (you’ll soon find out how much I love books and book lists)
  • crochet patterns
  • family journals (documentation of family activities)
  • OK – I think you get the picture – I couldn’t live without my 3-ring binders

However, the biggest and best reason for binders is to organize my genealogy research. And I have the magic recipe for what’s inside the binder, but that’s for another post.

It's what's inside the binder that counts!

It’s what’s inside the binder that counts!

In the meantime, here are my binder tips:

  • White binders look nice on the shelf.
  • “View” binders can be customized with cute scrapbooking paper and titles printed on the spines.
  • I use scrapbooking paper in four colors (one color for each of my four main families) so they can easily be found on the shelf.
  • Older plain binders can be covered with cloth or contact paper, etc.
  • Stock up on 2″, 2.5″, and a few 3″ for genealogy.
  • Binders come in a variety of grades, prices, and ring mechanisms, but check out amazon.com or walmart.com for some good prices.
  • And don’t forget sheet protectors – LOTS of sheet protectors.  Buy them by the box at amazon.com or Costco.

What about being paperless?  Are you kidding me?  Connie doesn’t do paperless when it comes to genealogy research.  I need my hard copies in front of me where I can think, sort, analyze, scribble, attach sticky notes, and caress my newly-found documents. Besides, when my husband sees all those binders full of research, he keeps helping with the housework and cooking the meals!

So, buy a few binders, fancy them up a bit, and get ready for research magic (or just use them to organize your life)!

connie ward girl with a past genealogy blog binder notebook 3 ring spine label